
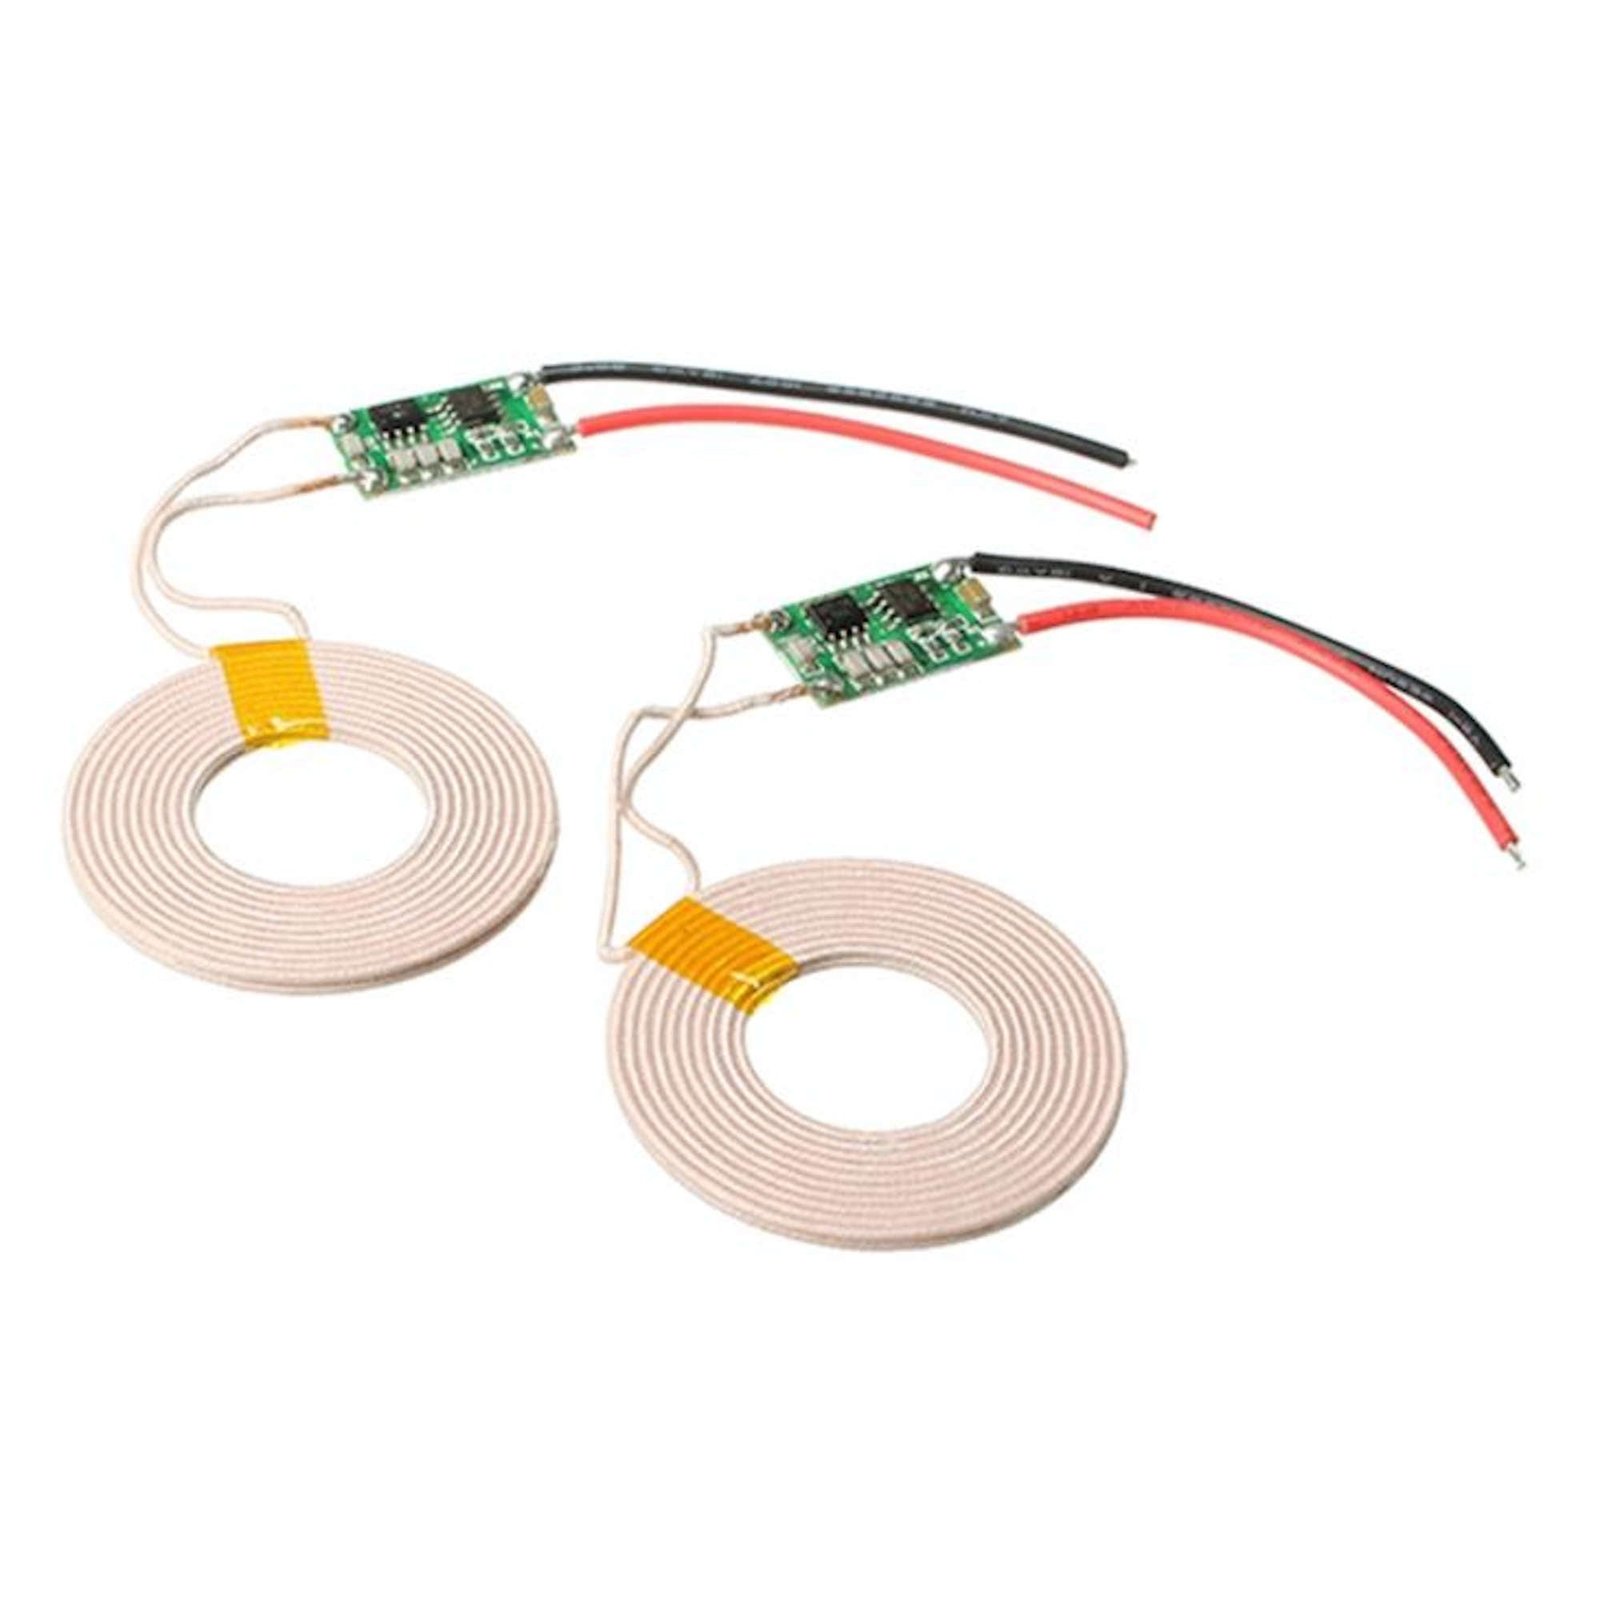
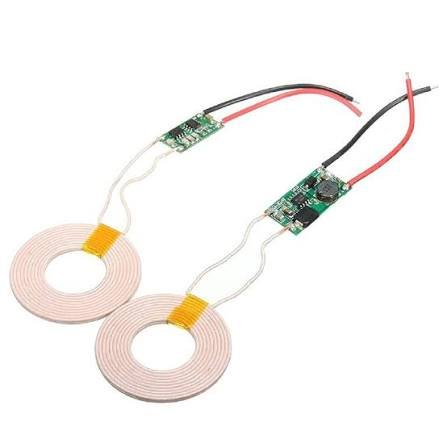
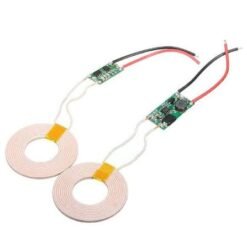
5V 2A Wireless Charging Module, Transmitter + Receiver Coil Set
₵160.00
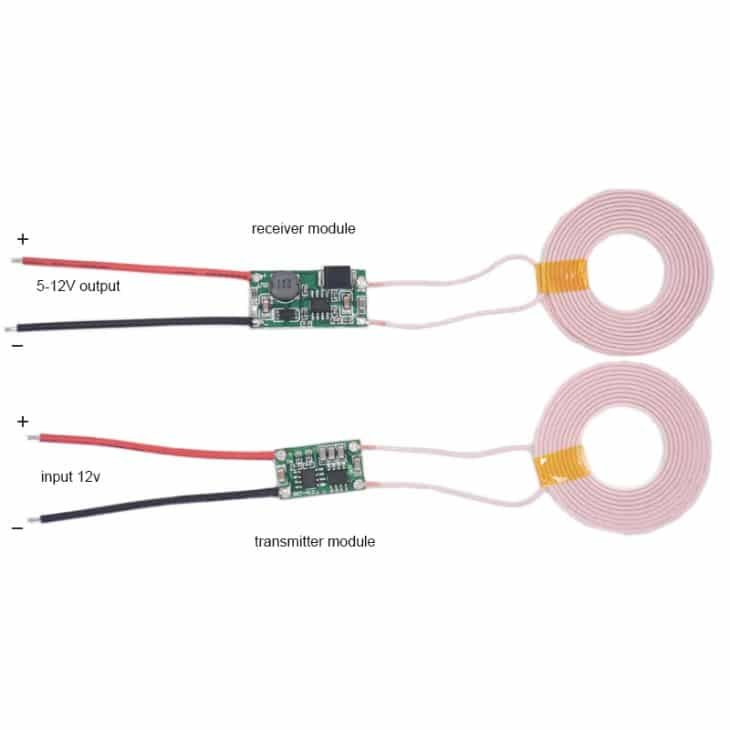
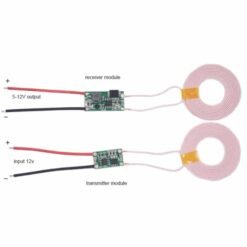
The 5V 2A Wireless Charging Module sends power through the air from a transmitter coil to a receiver coil. It delivers up to 5V 2A with no wires or connectors between the two sides. The set includes both the transmitter (TX) and receiver (RX) boards with coils, and runs from a 9–12V supply. Use it for DIY wireless chargers, sealed or waterproof devices, rotating parts and robot docking stations.
3 in stock
🚚 Same-day delivery in Kumasi · Next-day nationwide
💳 Pay with MoMo, VISA or bank transfer
This wireless charging module uses electromagnetic induction, the same principle behind wireless phone chargers. The transmitter board turns your DC supply into a high-frequency magnetic field in its coil. When the receiver coil is placed above it, that field is converted back into a steady 5V DC output at up to 2A.
There are no exposed contacts, plugs or cables between the two sides, so this wireless power module is ideal for devices that need to stay sealed, waterproof or rotating. Examples include smart home gadgets, waterproof sensors, robot charging docks, and lighting in rotating displays or 3D-printed enclosures.
Both coils are thin and flat, so they can be hidden inside a case, under a desk or behind a panel. The full TX + RX pair comes together and is ready to wire up.
Key Features
- Complete transmitter and receiver set. Everything you need for wireless power transfer.
- 5V 2A output. Enough to charge small batteries and power USB devices and electronics.
- 9–12V DC input on the transmitter.
- Effective range of 3–6mm for best power transfer.
- Thin 43mm coils. Easy to hide inside enclosures.
- Compact boards. They fit into small DIY projects.
- No contacts or connectors. Good for sealed, waterproof and rotating designs.
- Simple wiring. Just connect the input and output.
Technical Specifications
| Parameter | Value |
|---|---|
| Input voltage (TX) | 9V – 12V DC |
| Max input current (TX) | Approx. 1.1A |
| Output (RX) | 5V / 2A |
| Best transmission distance | 3 – 6mm |
| TX coil | 43mm diameter, 2.3mm thick |
| RX coil | 43mm diameter, 1.2mm thick |
| TX board size | Approx. 18 × 8.5 × 15mm |
| RX board size | Approx. 10 × 25 × 3mm |
| Includes | 1 × transmitter, 1 × receiver |
How to Connect
Transmitter (TX):
- Connect a 12V DC power supply (2A recommended) to the TX input: + to positive and − to ground.
Receiver (RX):
2. Connect your device or charging circuit to the RX output: + and −.
3. Place the RX coil directly above the TX coil, centred and 3–6mm apart.
4. The receiver outputs 5V when it’s in range.
Tips for Best Performance
- Use 12V input to get the full 2A output. At 9V, the available output current is lower.
- Line up the coils, keeping them centred and parallel for maximum power.
- Keep the gap small. Power drops quickly beyond about 6mm.
- Keep metal away from the coils. Metal objects and surfaces between or near the coils reduce power and can heat up.
- Plastic, wood and glass between the coils are fine, as long as they’re thin.
- To charge lithium batteries, connect the RX output to a proper charger module such as a TP4056. Don’t connect it straight to the battery.
- The coils can get warm under full load, so allow some airflow.
Applications
- DIY wireless charging pads and stands
- Waterproof and sealed devices (no exposed contacts)
- Robot and robot vacuum charging docks
- Rotating displays, turntables and slip-ring replacement
- Smart home gadgets and IoT sensors
- Wireless lamps and LED projects
- Electric toothbrush and small gadget charging
- STEM and final-year engineering projects
Works Great With
- 12V 2A Power Adapter
- TP4056 Lithium Battery Charger Module
- 18650 Lithium Battery
- 3D Printing Service (custom charging pad enclosures)
Package Includes
- 1 × Wireless Charging Transmitter Board with Coil
- 1 × Wireless Charging Receiver Board with Coil
Be the first to review “5V 2A Wireless Charging Module, Transmitter + Receiver Coil Set”
Related products




Reviews
There are no reviews yet.