

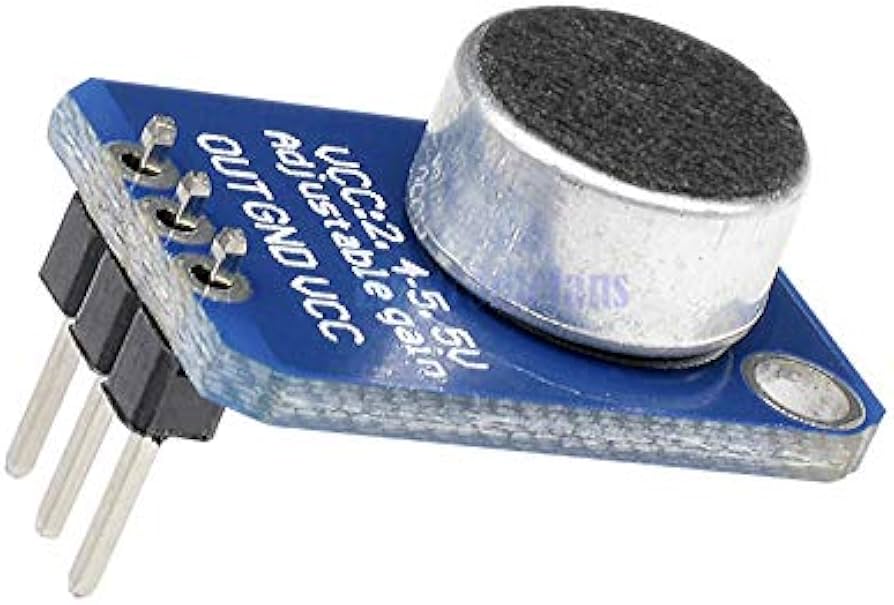

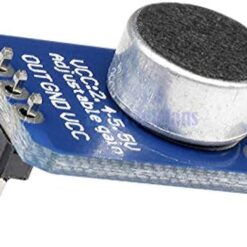
Electret Microphone Breakout Board With Adjustable Gain – MAX4466
₵30.00
The MAX4466 Microphone Amplifier is a high-performance breakout board designed for projects requiring precise audio input. Unlike standard sound sensors, this module features a built-in op-amp with an adjustable gain potentiometer on the back to tune sensitivity.
5 in stock
At its lowest gain (25x), it’s great for capturing loud sounds or for “line-level” inputs. At its highest gain (125x), it can pick up normal speech from a distance, making it ideal for connecting directly to a microcontroller’s analog-to-digital (ADC) pin.
Key Features
- Amplifier Chip: MAX4466 (Op-amp designed for microphone pre-amplification)
- Adjustable Gain: Onboard trimmer potentiometer allows you to set the gain from 25x to 125x.
- Wide Voltage Supply: Operates from 2.4V to 5.5V DC, making it perfect for 3.3V and 5V microcontrollers.
- Clean Output: Excellent power-supply rejection ratio (112dB) and common-mode rejection ratio (126dB) for low-noise audio.
- Rail-to-Rail Output: The output signal can swing from the negative (GND) to the positive (VCC) rail, giving you the maximum possible signal range.
Technical Specifications
| Feature | Specification |
| Operating Voltage | 2.4V – 5.5V DC |
| Frequency Response | 20Hz – 20kHz |
| Adjustable Gain | 25x to 125x |
| Quiescent Current | < 24µA (very low power) |
| Output | Rail-to-Rail, DC-coupled |
How to Use & Wiring
This module is simple to connect. It only has three pins:
- VCC: Connect to the power supply (2.4V-5.5V). For the cleanest signal on an Arduino, use the 3.3V pin.
- GND: Connect to your project’s ground.
- OUT: The analog audio signal output. Connect this directly to a microcontroller’s Analog Input (ADC) pin (e.g.,
A0on an Arduino).
Understanding the Output (OUT) Pin:
The output signal is DC-biased. This means that when it’s perfectly quiet, the OUT pin will have a steady voltage of VCC/2 (e.g., if you use a 3.3V supply, the quiet voltage will be ~1.65V). The audio waveform is a small voltage that “wiggles” up and down from this center point.
- For Microcontrollers (ADC): You can connect the
OUTpin directly to your Arduino’s ADC pin. In your code, you will read the analog value and look for the difference from the center point (512 if using a 5V supply, or ~341 for a 3.3V supply). - For Audio Equipment (AC-Coupled): If you are connecting this to the “line-in” of a stereo or amplifier that requires an AC-coupled signal, place a 100uF capacitor between the
OUTpin and your device’s input pin.
Common Applications
- Voice Changers
- Audio-Reactive Projects (e.g., LED strips that react to music)
- Audio Recording & Sampling
- Sound Level Detectors
- FFT (Fast Fourier Transform) Audio Spectrum Analyzers
Be the first to review “Electret Microphone Breakout Board With Adjustable Gain – MAX4466”
Related products

Reviews
There are no reviews yet.