
Tutorials
Getting Started with Arduino Uno
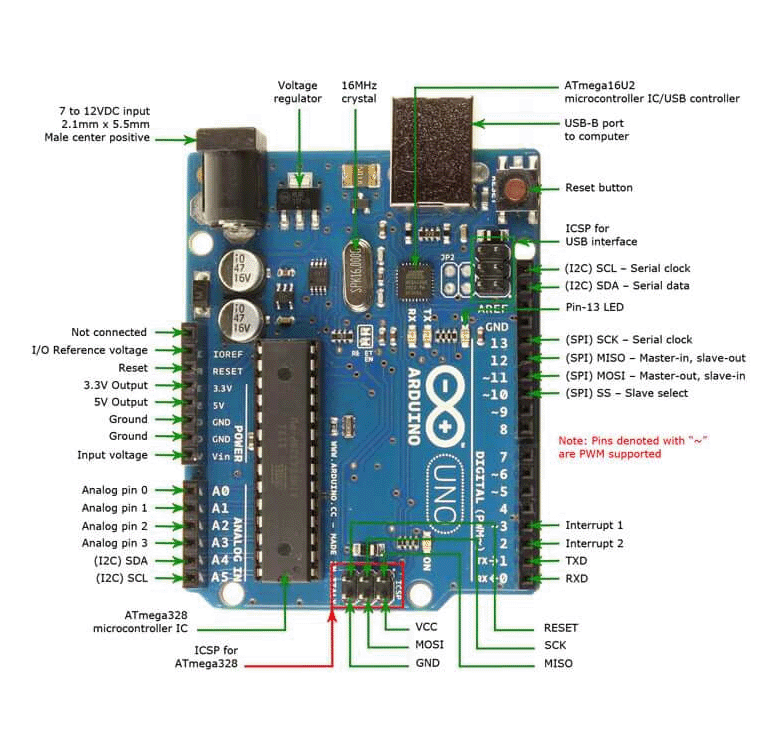
The Arduino Uno r3 (DIP version) is one of the most beginner-friendly microcontroller boards, perfect for learning electronics, coding, and building simple projects. This tutorial on Getting Started with Arduino will guide you from unboxing to running your very first program.
What You’ll Need
- Arduino Uno board
- USB cable (Type A to B)
- A computer (Windows, macOS, or Linux)
- Basic components (LED, resistor, breadboard – optional but recommended)
Step 1: Install the Arduino IDE
To program the Arduino, you need the Arduino IDE.
How to install:
- Go to the official Arduino website
- Download the IDE for your operating system
- Install it like any normal software
Once installed, open the IDE — this is where you’ll write and upload code.
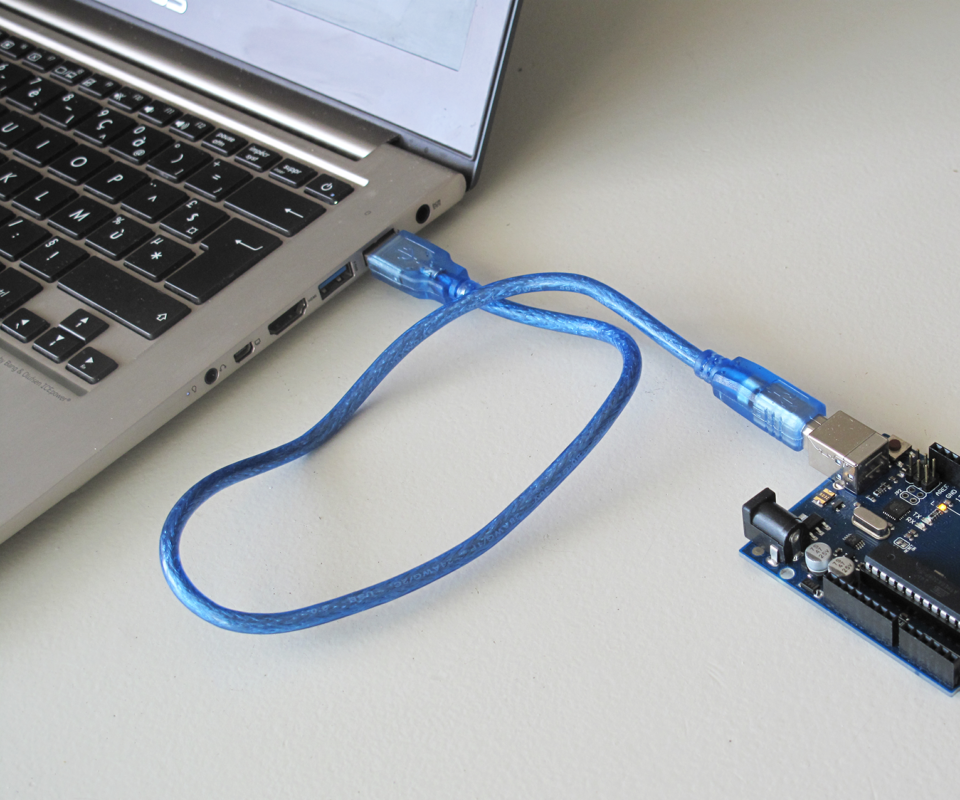
Step 2: Connect Your Arduino Uno

- Plug the USB cable into the Arduino
- Connect the other end to your computer
- A power LED should light up on the board
Your computer should automatically detect the device.
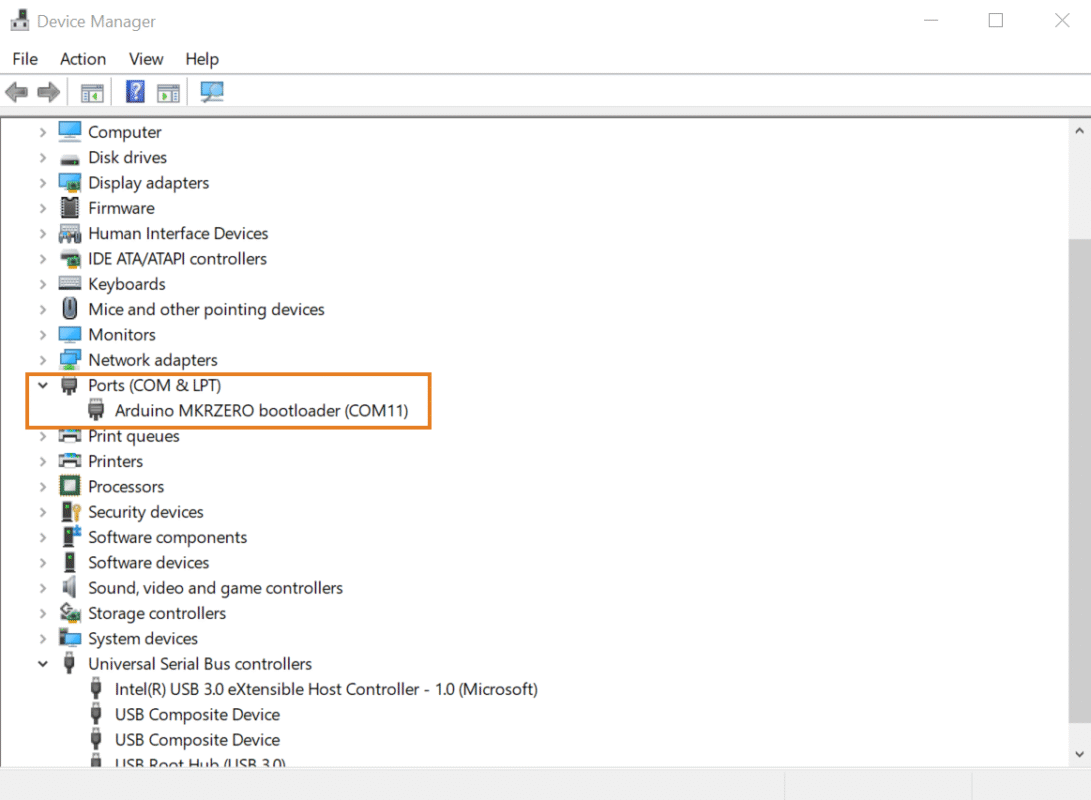
Step 3: Select Board and Port
Inside the Arduino IDE:
- Go to Tools → Board → Arduino Uno
- Go to Tools → Port → Select the correct COM port
If unsure, unplug the board and plug it back in — the new port that appears is your Arduino.
Step 4: Upload Your First Program (Blink)
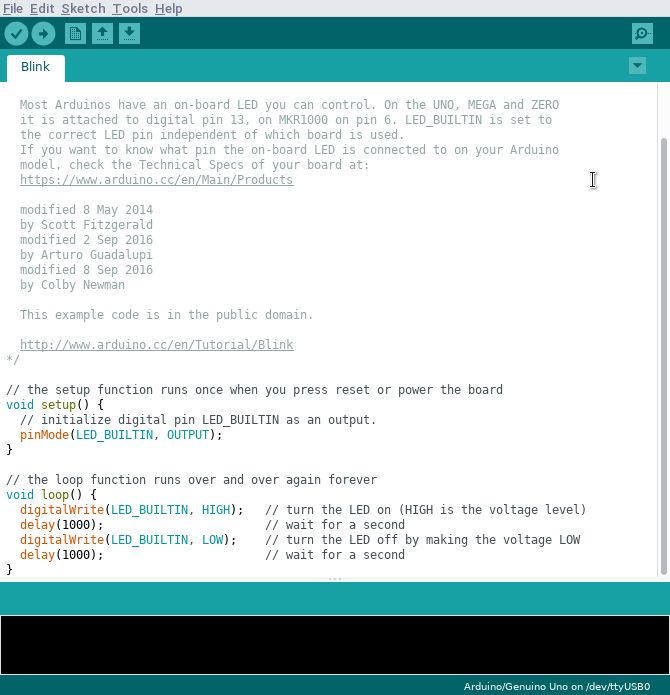
Let’s make the built-in LED blink!
Steps:
- In the IDE, go to
File → Examples → 01.Basics → Blink - Click the Upload button (→ icon)
- Wait for “Done uploading”
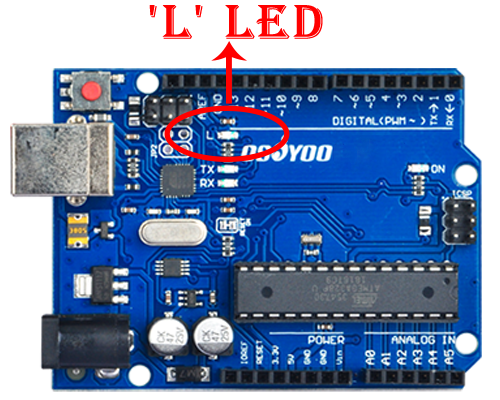
The LED labeled “L” on your board should start blinking!
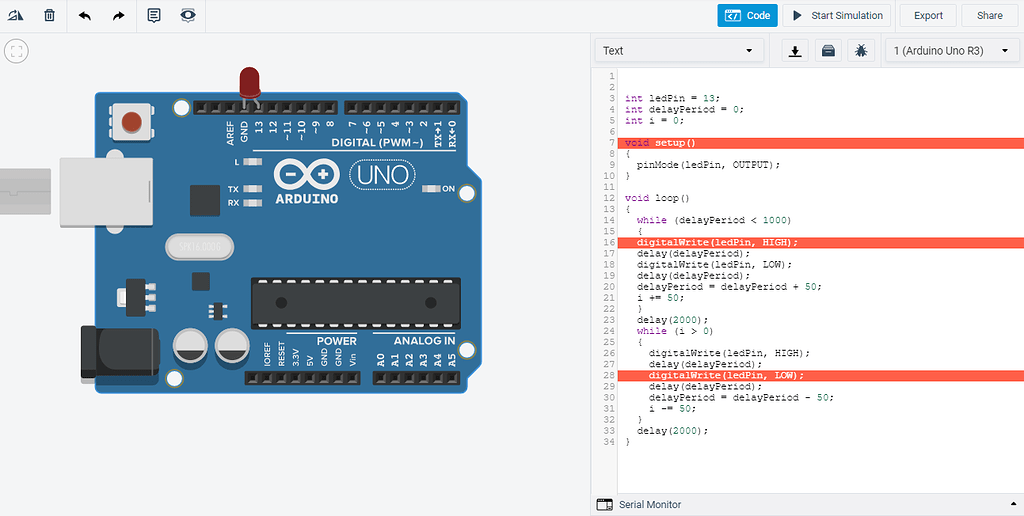
Step 5: Understand the Code
Here’s what the Blink program does:
setup()runs once when the board startsloop()runs repeatedly foreverdigitalWrite()turns the LED ON or OFFdelay()pauses execution
This simple structure is the foundation of all Arduino programs.
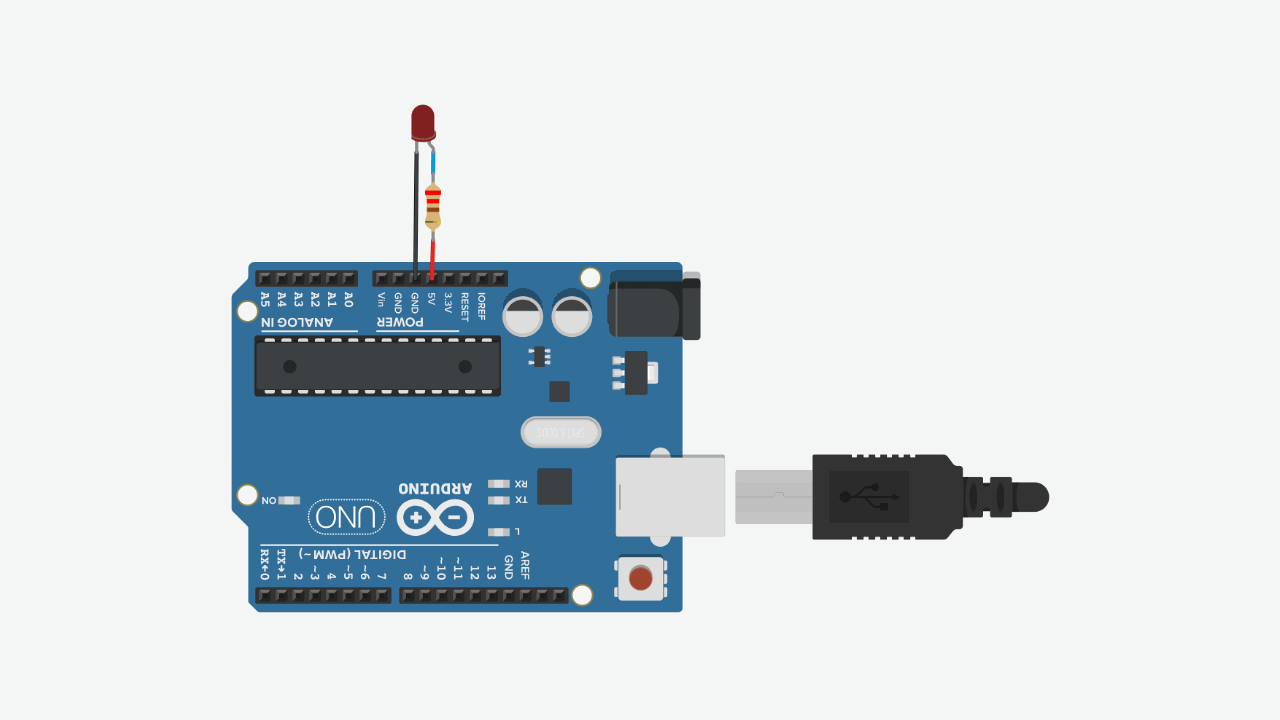
Step 6: Build a Simple LED Circuit (Optional)
4
Try controlling an external LED:
What to do:
- Connect LED long leg → Pin 13
- Connect short leg → resistor → GND
Now your code controls a real component outside the board.
Tips for Beginners
- Always check your wiring before powering
- Use resistors with LEDs to avoid damage
- Start with simple projects before moving to sensors or motors
- Save your sketches regularly
What’s Next?
Once you’re comfortable, try:
- Reading a button input
- Using sensors (temperature, light)
- Controlling motors or buzzers
- Building small automation projects